Week 10 of the Twelve Weeks of Christmas Projects
Welcome to Week 10 of the Twelve weeks of Christmas. Today I want to show you a beautiful Christmas decoration that is so easy to make!
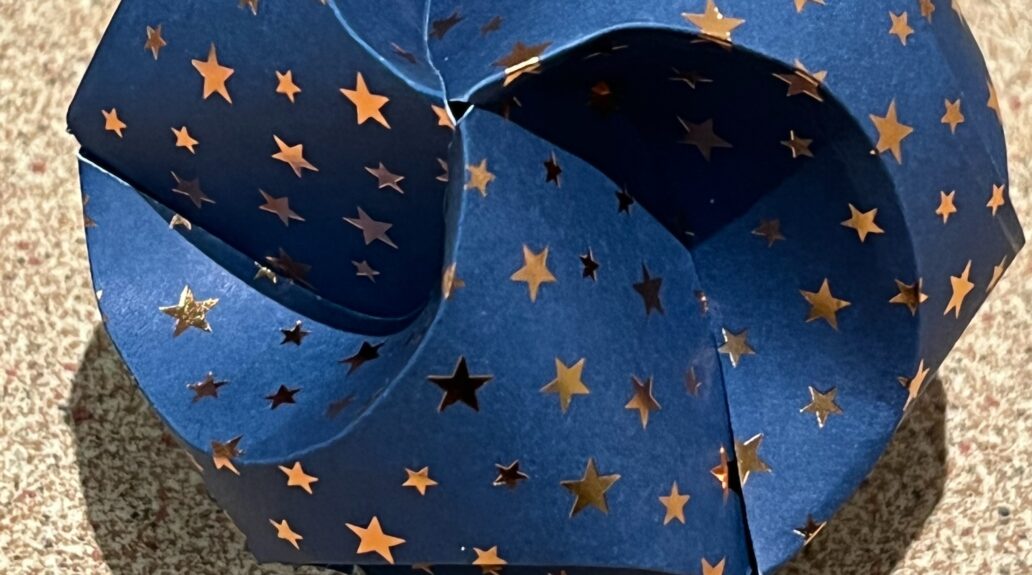
All you need is some Designer Series Paper and the template that you can download from Creative in Chicago. I used some retired papers and also Simply Elegant DSP. This DSP has gold, silver and copper foiling and looks beautiful made up in these orbs. I cut the paper to 15 x 30cm and ran it through the printer so that the template would be printed on the wrong side. I then cut it into the three strips and scored the curves. You can use the Layering Circles to help with this or do it free-hand like I did.
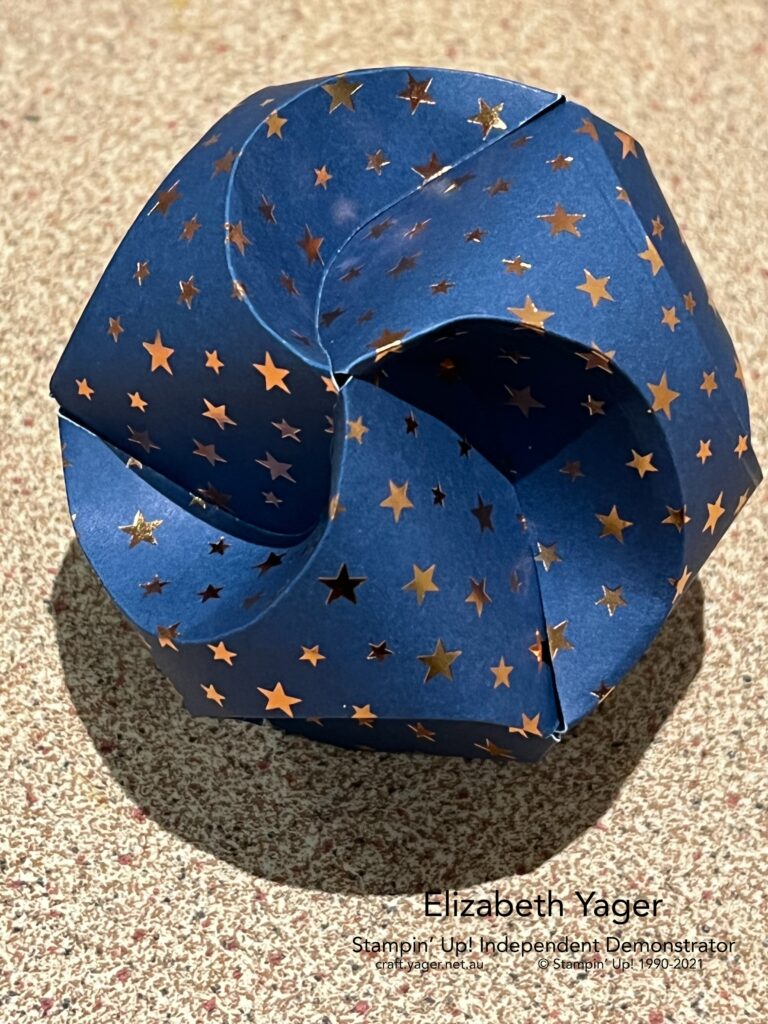
I then creased along the curves to make it easier to put it together. I added a piece of double sided tape on one of the ends and made two of the strips into circles. The third one also had tape added but not made into a circle at this point.
Tuck one circle inside the other one and then thread the third one through to hold it all together and join the final one. Make sure the curves are not under the sides (see video). Push the curves down to make the orb shape.
Several of these would look great hung on a ribbon or as I did, in a glass bowl with some lights.
Enjoy making these!!!
Product Listing
Remember to use the December Host Code 3MC9CP7U on your order to receive a discount.

 SPECIALTY DESIGNER SERIES PAPER")
