I have decided to try and post a stamp set every day for the month of January. I did this a couple of years ago and thoroughly enjoyed creating something new!!
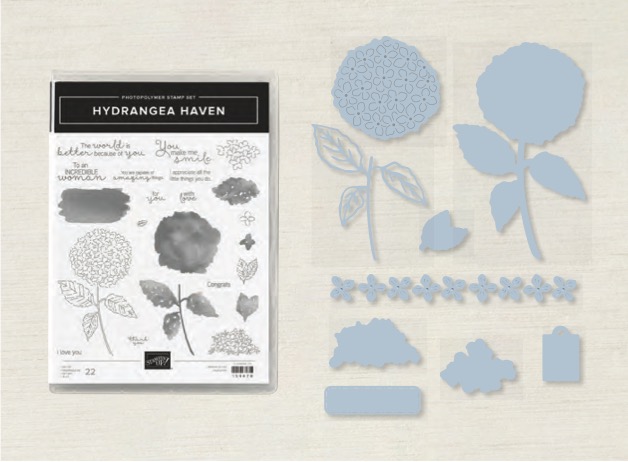
Stamping Up have a new suite in the January June Mini Catalogue called Hydrangea Hill. I fell in love with it when I saw it and was able to get it on preorder but it will be available for purchase from January 4. If you would like a copy of the catalogue so you can have your own beautiful suite in a couple of weeks, contact me and I will arrange for you to get a copy as soon as possible!
In my last blog challenge #25 I used some of the the Mercury Acetate to make some cards. I decided to use both sides of it and loved how they turned out.
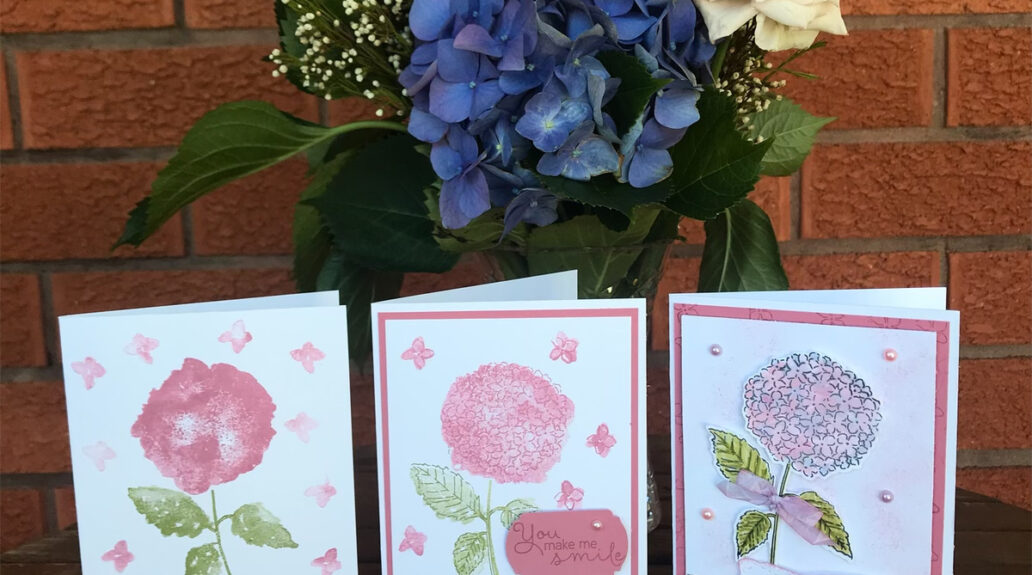
My next challenge was to make three cards for Beginner, Casual and Avid stampers. I love having detail on my cards so the beginner card was a little bit of a challenge for me, but I think I managed to capture what I wanted.
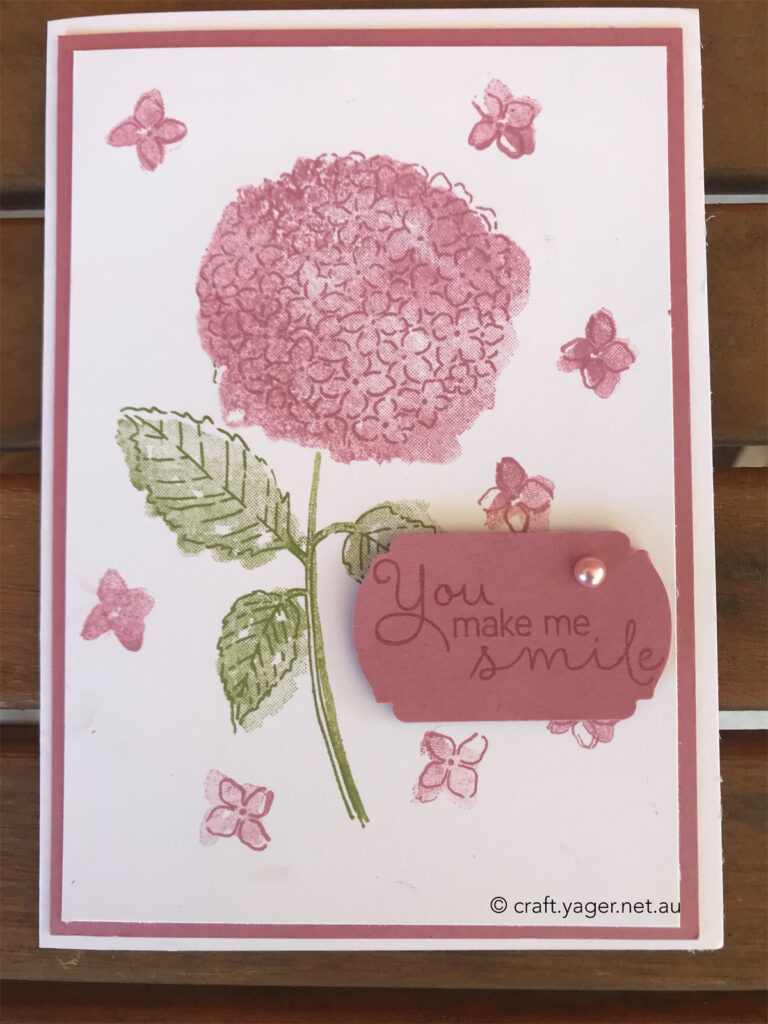
The beginner card uses the Hydrangea Haven stamp set. The flower and the stem are separate so it was easy to stamp the flower in Rococo Rose and the stem in Old Olive on the Whisper White background. I then added some stamped off individual flowers to add a little dimension and stamped the lovely sentiment on the bottom.

The Casual card steps it up a little bit. I again used the same stamp but this time I also added the detailed stamp to the flower and the individual flowers. This was layered on a piece of Rococo Rose and then placed on a Whisper White base. The sentiment was stamped on Rococo Rose and cut out using the fancy label punch and I added a pastel pearl to it before raising it on dimensionals.
Card 3 for the Avid stamper went further again. I clear embossed the first layer with Versamark and one of the stamps and heat set it. I then sponged a little Rococo Rose over this just to give it a blush. I stamped the flowers and die cut them with the Hydrangea Dies. I did the stamping in Memento Black and watercolored the flowers with Rococo Rose and a little Seaside Spray and the stem with Old Olive. I then used my Old Olive blender pen on the leaves to add a little dimension.
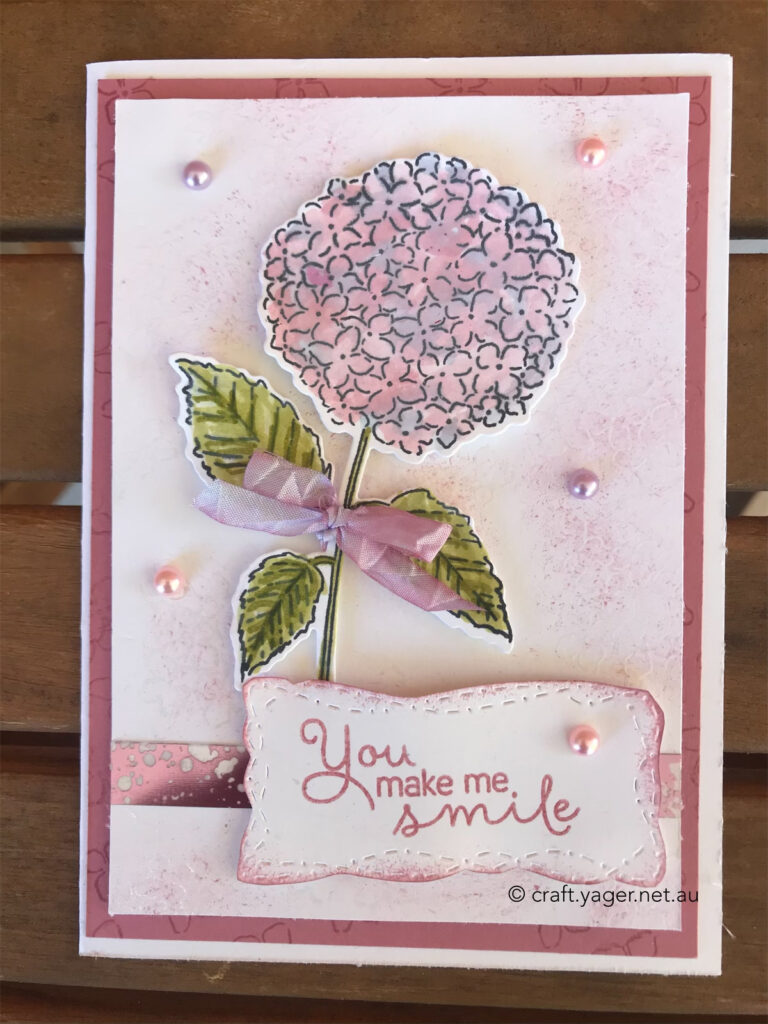
I coloured the white ribbon with the two colours to give a variegated effect and tied around the stem. The flower was placed on dimensionals and put on the first layer. I added a little bit of the Mercury Acetate behind the sentiment. The sentiment was stamped with Versamark and Rococo Rose and clear powder to give it a sheen and heat set. It was then cut using the Stitched with Whimsy Dies that are also in the new catalogue and the edge sponged with Rococo Rose. This was all placed on a Rococo Rose layer which had randomly stamped with Rococo Rose ink and it was all placed on the Whisper White base. I then added some of the Pastel Pearls and love how it turned out.
Hope you enjoyed these cards!