I have had this suite, Sand and Sea, for a little while, as I bought it on preorder, but never got around to using it. I just love the colour palate and when I started using it yesterday, I just wanted to create more cards.
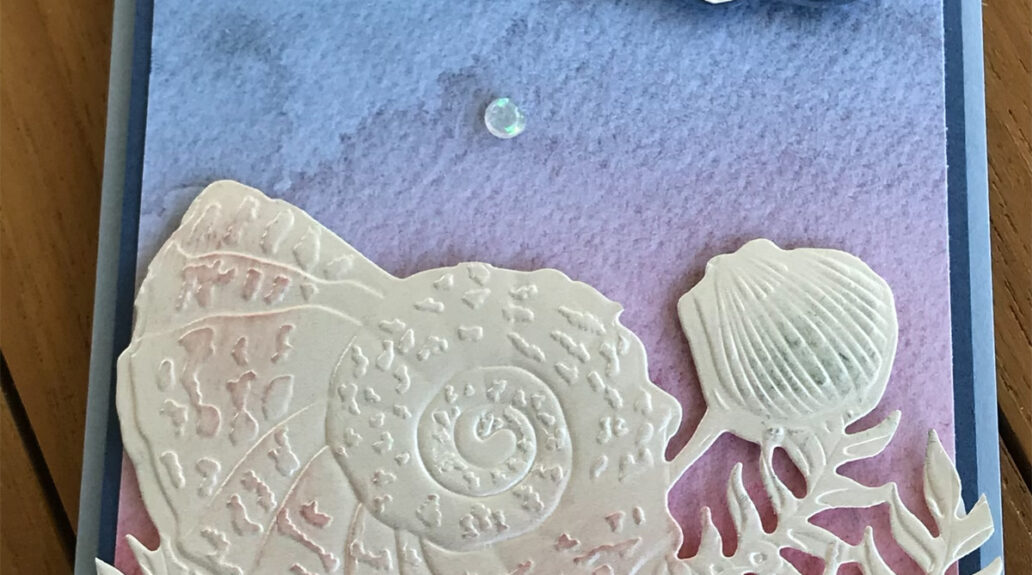
My first attempt was using the Seaside Shells Dies, 3D Embossing folder, Pearlescent Paper and the DSP. The large die is amazing. Not only can you use it for a whole card front, but you can cut out some of the individual shells. The other amazing thing is that the shells on this die are the same size as those in the stamp set!
The pearlescent paper is just beautiful. The dies also match the embossing folder, so you get a beautiful 3D image. I sponged a little Blushing Bride and Seaside Spray on to the shells.
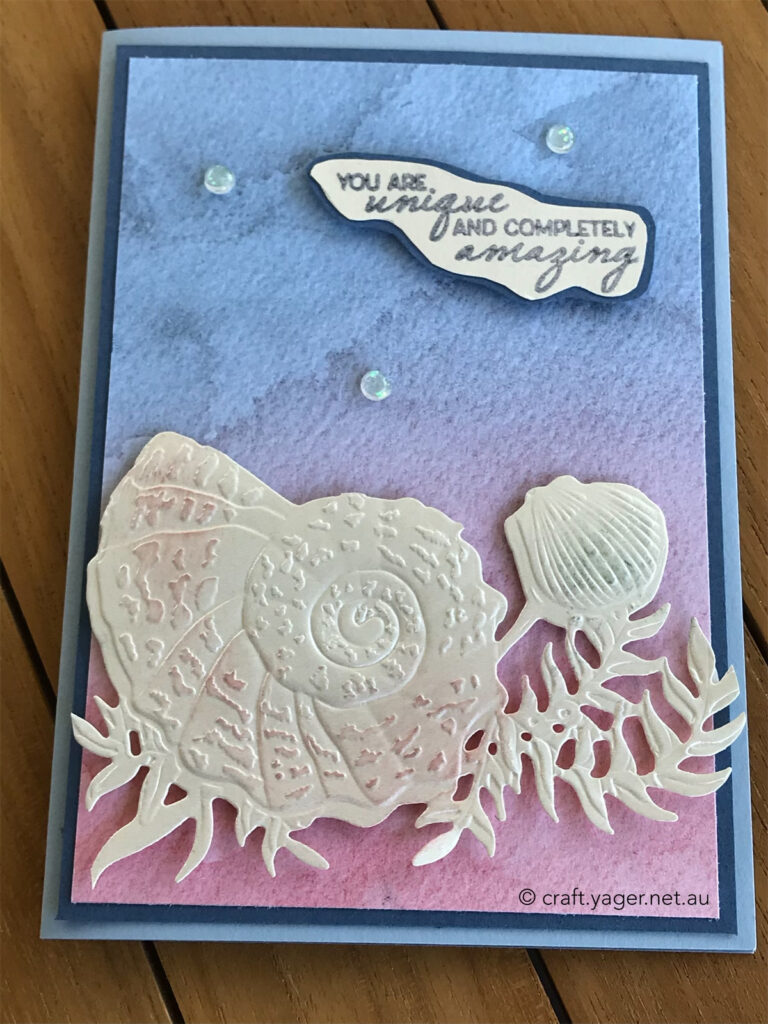
The DSP is also beautiful. I used a piece in blues and pinks, and although it does not mention using Misty Moonlight as a colour choice on the back of the DSP, it really framed this DSP beautifully. I then placed it on a base of Seaside Spray and added the pearlescent die cut to the lower part of the card. You will notice that I only used half of the die cut.
I wanted to carry on the theme, so I clear embossed the sentiment and used Misty Moonlight ink. I use the Versamark on the stamp first and then the ink colour and clear embossing powder before heat setting. You end up with a beautifully raised image. I have found a way to give your stamped sentiments interesting shapes. You use the outline of the cleaned stamp on top the sentiment you stamped and draw around it. It is then fussy cut inside the drawn line and glued to contrasting cardstock. Fussy cutting the second layer adds a little contrasting border.
I added some Opal Rounds to finish off the card. I have decided that I must make a few different cards with this suite to really show it off!