During August and September, Stamping’ Up have a great special. It is called Sale-a-bration. You can choose a free Sale-a-bration item from the Sale-a-bration catalogue with every $90 or $180 purchase.
Delicate Dahlias is one of the free items with $180 purchase. There are two sheets of stamps for you to play with! I began experimenting with one sheet and then was inspired to use the outline dahlia sheet for two more cards. My colour palate for the first card was Polished Pink, Magenta Madness – full strength and stamped off, Gorgeous Grape, Pear Pizzazz and Shaded Spruce. I stamped the centre dahlia on a piece of sticky note and cut it out to use as a mask. Then I stamped the dahlia in the centre of Basic White cardstock. I covered it with the sticky note mask and continued with my stamping.
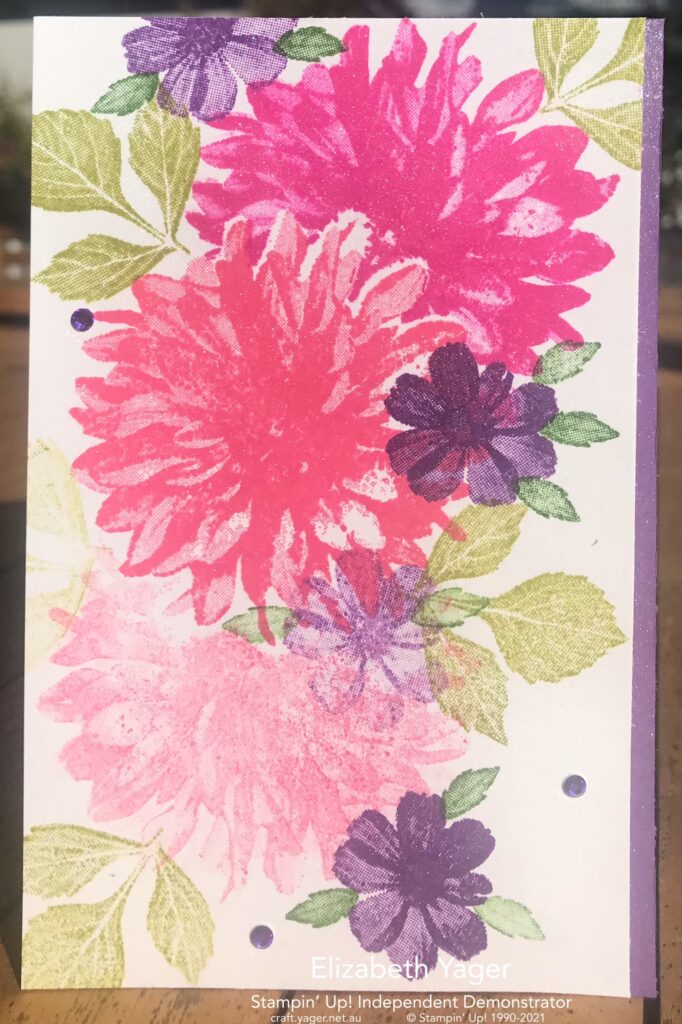
This was placed on Gorgeous Grape cardstock and I trimmed a little bit off, so the front of the card was not as wide as the back. I added some Basic White for the message inside and some Holiday Rhinestone Basic Jewels on the front.
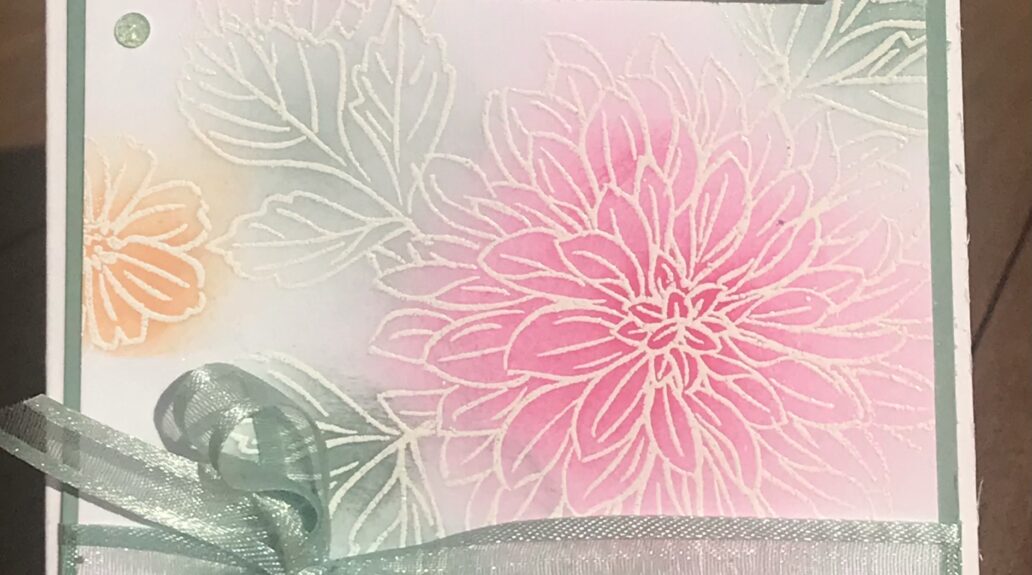
The next two cards are similar in how they are constructed. I used Versamark to stamp the large dahlia outlines on to Basic White cardstock and used White Embossing powder on one and Gold on the other. This was heat-set using a heat tool. I then added the leaves and flowers on the white embossed one and leaves on the gold one. I again use Versamark and the powders. The reason for doing this in two stages is that you can see where your flowers are before you stamp the leaves so you have less overlap. I then used my blending brushes to add colour.
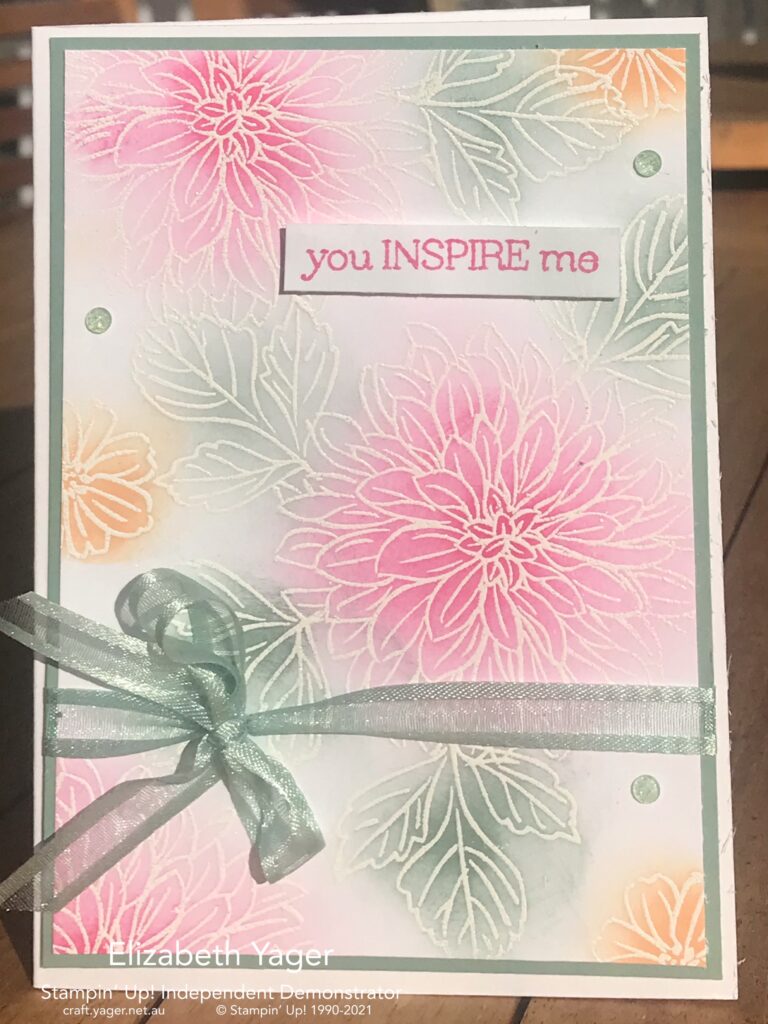
On the white embossed card, I used Polished Pink, Pale Papaya and Evening Evergreen. The wonderful thing about using the blending brushes is that you can add a little at first and then darken the colour by adding more, until you get the desired effect. I placed the card front on Soft Succulent cardstock and added Soft Succulent ribbon . The sentiment was stamped on Basic White cardstock in Polished Pink. The entire front was then placed on Thick Basic White cardstock and I added some Genial Gems for effect.
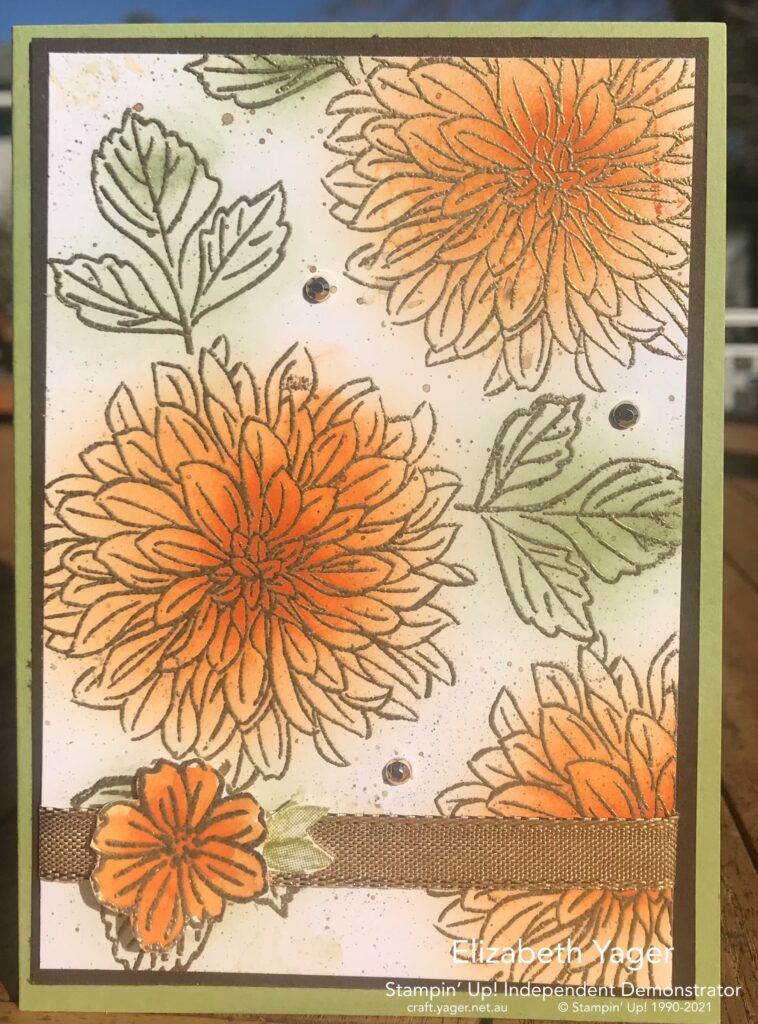
For the other card, I used the blending brushes with Pumpkin Pie and Mossy Meadow. I then splattered a little Early Espresso ink on the card front before adding the gold shimmer ribbon. I cut out a little embossed flower and some leaves to add to the bottom of the card . This was placed using mini dimensionals and glue dots. The card front was placed on Early Espresso cardstock and then on a Pear Pizzazz base. I added some gilded gems to continue the gold theme.
I think my favourite is probably the Polished Pink and Pale Papaya one but the gold embossed one is also a close runner up!! What do you think?


")


 OPEN WEAVE RIBBON")
 SHIMMER RIBBON")