About two months ago, we had ‘Creativity Now’ – an online crafting day. The stamp set we used was Translucent Florals. This is a beautiful stamp set and accompanying dies and works well on Basic White Cardstock or Vellum.
I wanted to make some gifts for friends for a retreat I am going to and decided to make these. I had a similar one on an earlier blog, but it was tied to three colours that were quite muted.
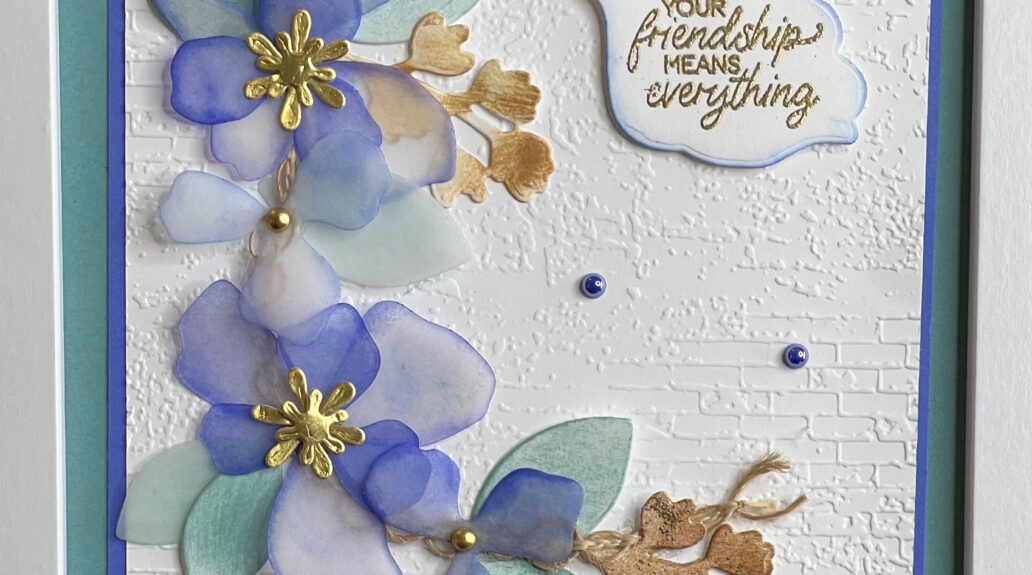
I cut lots of leaves and flowers from Basic White cardstock and Vellum and then proceeded to colour them using blending brushes and sponge daubers. Sponge daubers give a great edge to the flower or leaf. Some were coloured lightly and some darker. I also used some gold foil for branches from the die set and for the centre of the flowers.
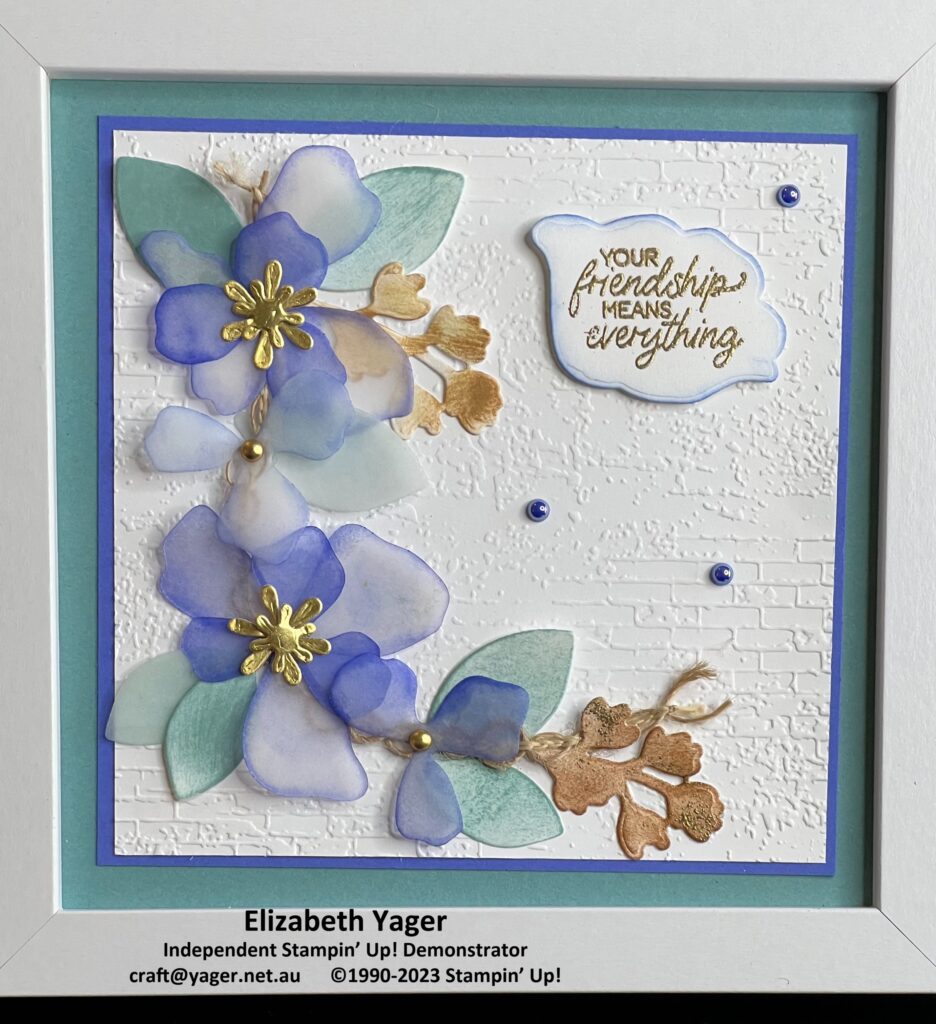
I decided to emboss a piece of 5″ x 5″ Basic white cardstock with the Exposed Brick Embossing folder. Some of these I then lightly used a blending brush on to bring out the texture. Having done this, I cut a piece of Natural Wavy Trim and placed it on the embossed piece with glue dots. This would be my guide for placing my flowers and leaves and added a rustic texture to the framed picture.
The large flowers and gold foil centres were put together with glue dots. The leaves and flowers were then placed on the Natural Trim before gluing them in place. When I was happy with the placement. I added glue dots to them all.
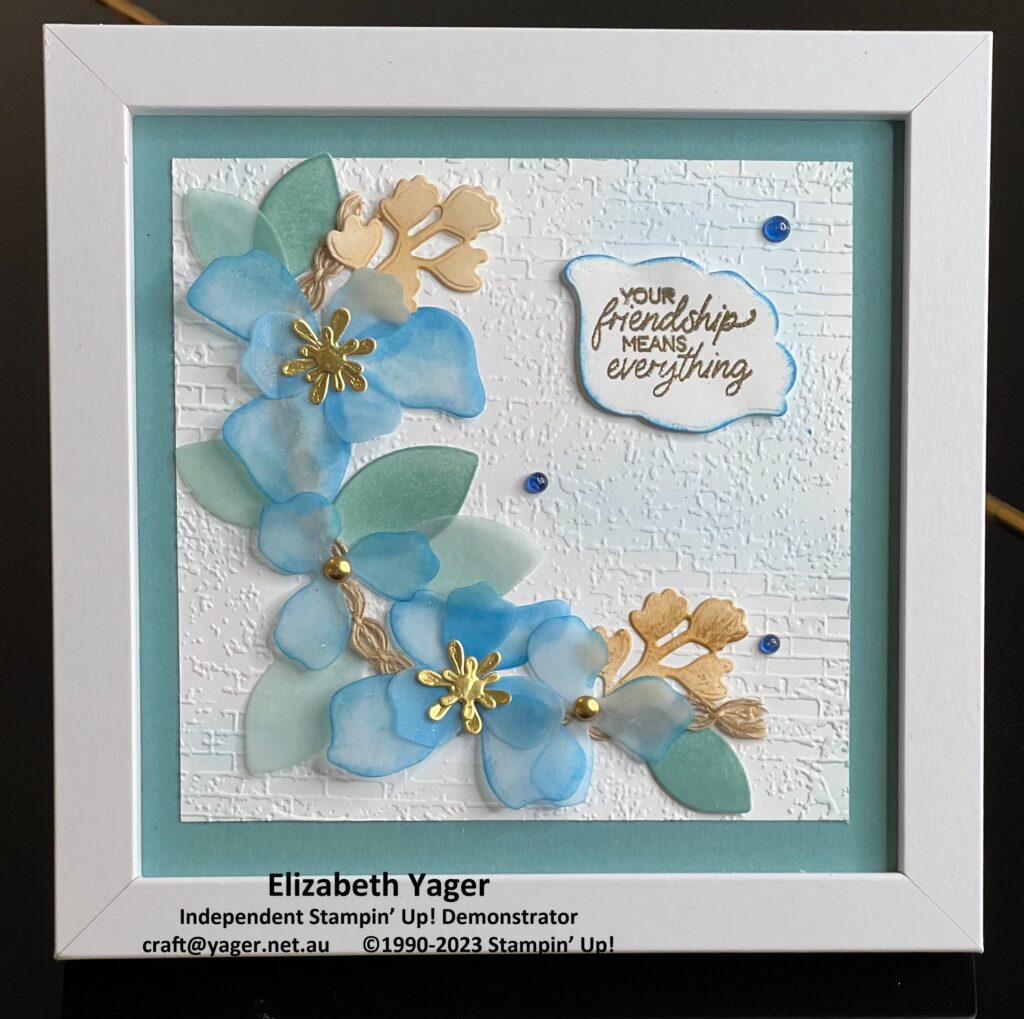
I used various colours on the flowers – Lemon Lolly and Pumpkin Pie, Orchid Oasis (probably my favourite!), Azure afternoon, and Bubble Bath and a little bit of Poppy Parade. The leaves were mostly blended in Lost Lagoon. This is a returning colour and I don’t think I used it too much when it was last current, but it is becoming a firm favourite!! I also used Pecan Pie.

The sentiment is stamped in Versamark and embossed with Gold on three of the frames and Copper on the other one. I cut this out with one of the flower dies as I thought the shape suited the sentiment. The edge was then daubed in an appropriate colour and added to the frame with dimensionals. I used some embellishments to the finished picture. I used some In Colours and Brushed Metallic Dots.

None of the frames are exactly the same, as is what happens when you hand make something! Which is my favourite? I’m not sure. I love the Orchid Oasis one and the Azure Afternoon one but I also love the others as well. Which is your favourite?
I used a 6″ x 6″ frame that I bought in K Mart for them. It makes a beautiful and inexpensive gift for someone, but one where lots of love has been taken to make it special. Now who do I give them to??
Postscript! – This was meant to go out last Monday 28 August, but life has been incredibly busy this week so I will post it today. I ended up giving to my room mates at Camp last weekend!!
PPS – A number of people have asked me for instructions so here they are .
Product Listing


 WAVY TRIM")


Prices subject to change. Terms and Conditions may apply. Displayed prices were correct on 3 September 2023.
Love the colors and the layout! Beautiful card! Thanks for sharing!
Thank you!! I loved making this!