For the past nine weeks, I have taken the journey to doing a Facebook Live called Timeout Thursday, and last week, I showed this sampler during one of the sessions and it has also been on Demonstrator Planning Place. Several folks have asked for measurements and I am finally getting around to adding them to this blog.
The journey started when we began to organise a Women’s retreat at our church and some of the ladies asked if we could do another sampler (we had done one a few years ago – pre Covid). I immediately thought of the new 2024-25 Stampin’ Up Catalogue and the suite I had fallen in love with as soon as I opened the catty up!! – Thoughtful Journey. I LOVED the DSP and the stamp set.
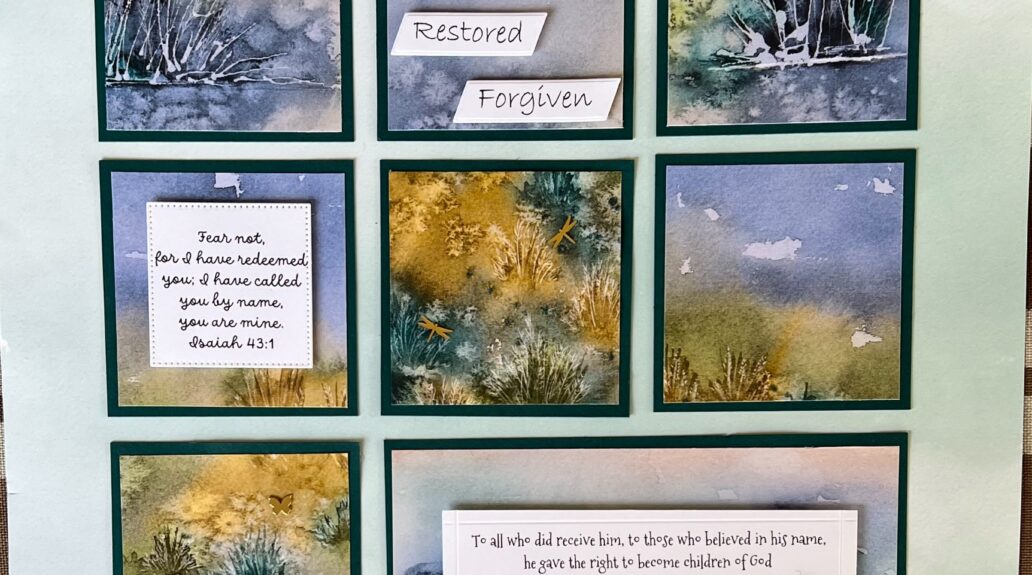
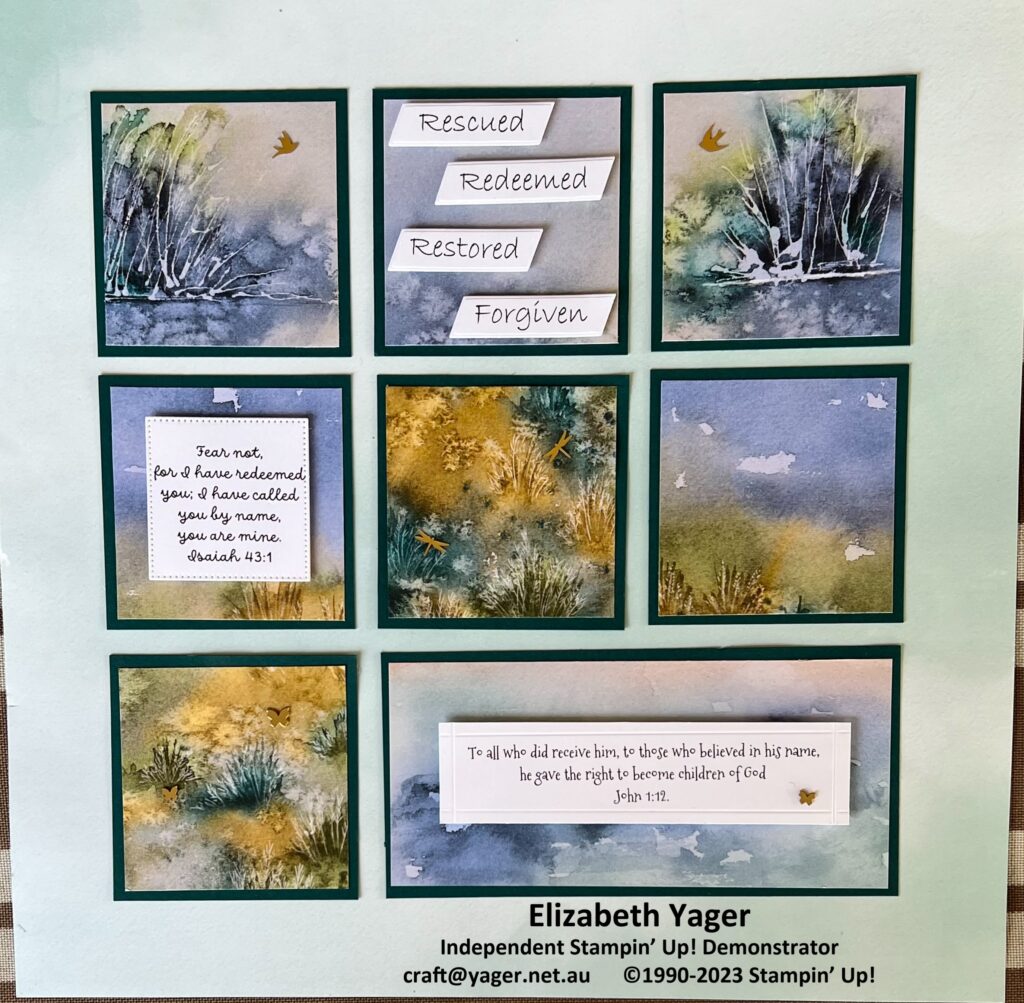
The theme for our retreat is how God has forgiven us, redeemed us and restored and adopted us into His family. I thought the DSP was a perfect backdrop for this.
The frame is a 12″ x 12″ frame from K Mart here in Australia. The 6″ x 6″ DSP is perfect for this. I used Pretty Peacock cardstock to layer each piece of DSP. It was cut 3″ square (or 7.6cm) I used 7 of these and one piece that was about 6″ x 3″ (or 15.7 x 7.6cm)
The DSP was cut 2¾” square (or 7cm). The large rectangle DSP was 5¾” x 2¾” (or 15.2 x 7cm). I glued these to the Pretty Peacock Cardstock.
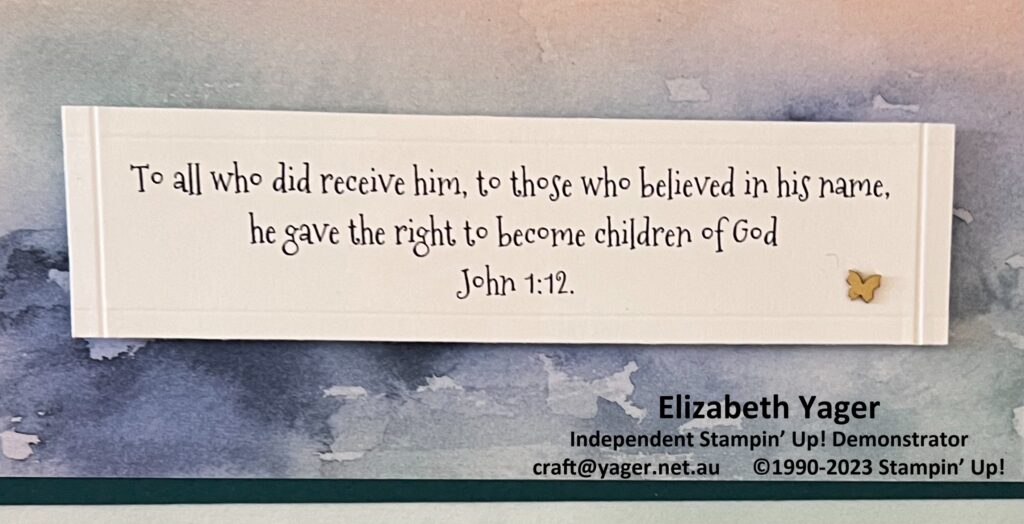
For the verses, I kept thinking of the words Rescued, Redeemed, Restored and Forgiven and decided they would make a perfect summary of the sampler. I printed these out in a font I liked and cut them out with a die suitable for their size. I used the Something Fancy Dies. I added Isaiah 43:1 and John 1:12 in Basic White cardstock, playing around with fonts and sizes that would look right on the DSP. On the John 1:12 verse I scored around the rectangle to add some interest. These were then added to the squares with with mini dimensionals or glue.
To put it on the 12″ x 12″ DSP, I made a template out of another piece of 12″ x 12″ DSP. I cut out the centre from this leaving a 2¼” frame on the edge ( or 3.2cm). This was placed on top of the one I was using (This time I used the Translucent Florals DSP (abstract side) but you could use 12″ x 12″ cardstock too!! I then placed all the corner pieces on and glued them in place, making sure they were right up to the corners of the template. It is then easy to add the centre left and right pieces and the top and bottom centre ones as well. I leave the centre square to the end.
I found some embellishments that I could use – the Brushed Brass Butterflies and another set that I had called Adhesive Backed Dragonflies and Birds. The picture below shows what they look like.

Product Listing


 DESIGNER SERIES PAPER")


 DESIGNER SERIES PAPER")
Prices subject to change. Terms and Conditions may apply. Displayed prices were correct on 29 June 2024.