Week 7 of the Twelve Weeks of Christmas Projects
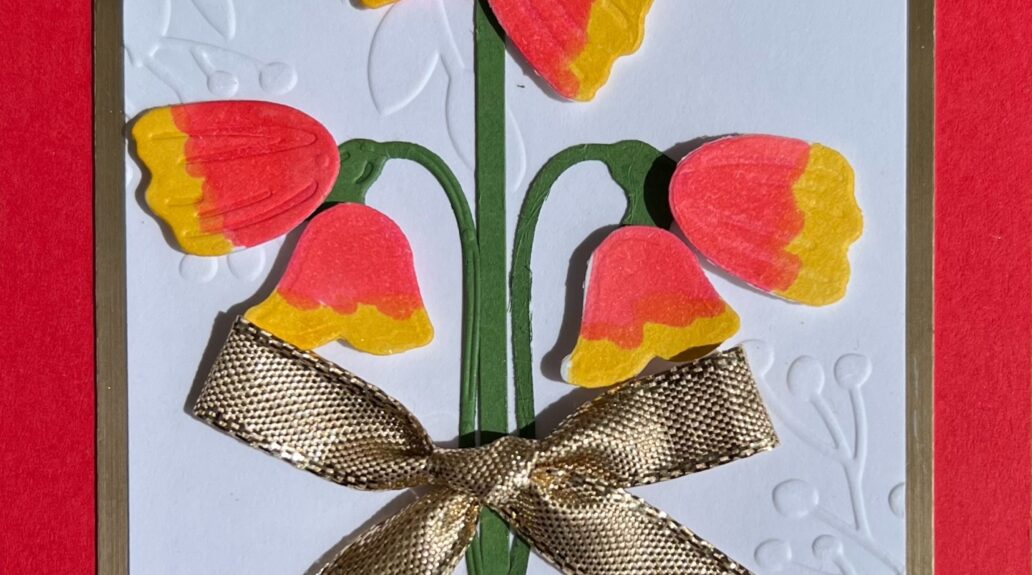
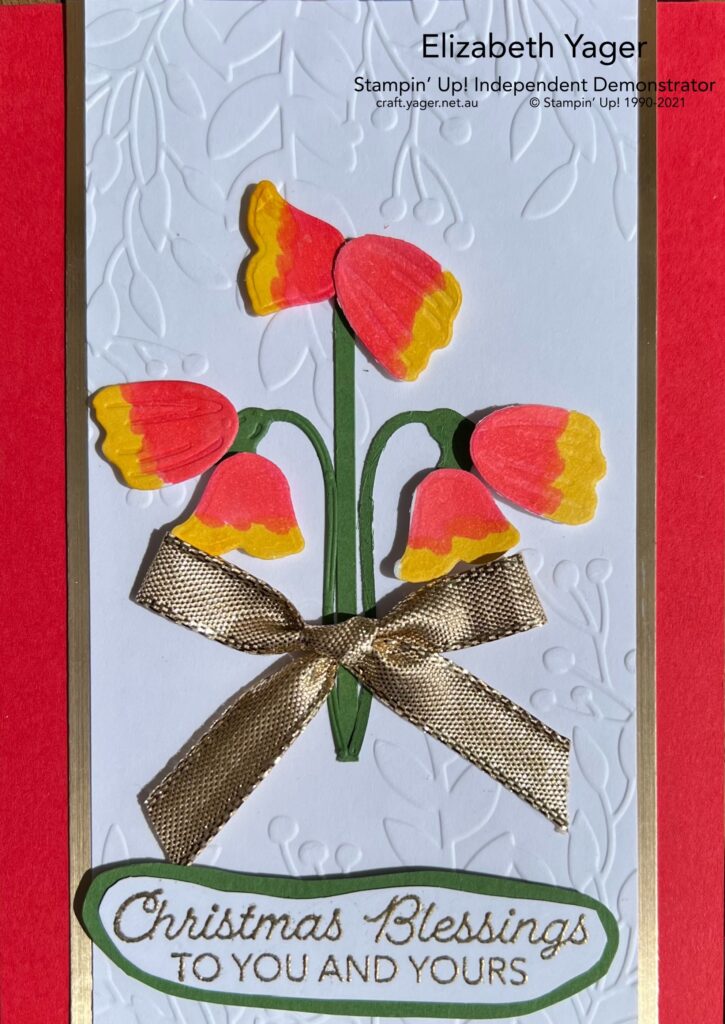
In this Christmas project, we will make a beautiful card featuring the Australian native flower, the Christmas Bell, constructed using shapes cut from the Pansy Die set and coloured using Stampin Blends . The video provides instructions on how to put it all together. I hope you enjoy making this card.
Supplies
- 1 piece of cardstock of Poppy Parade for base 21 x 14.85cm – score at 10.5cm
- 1 strip of white cardstock 14.85 x 8cm embossed with Greenery Embossing folder
- 2 strips of gold cardstock 14.85 x 1.5cm
- Christmas Bells – 6 pansy buds die cut out in white and stems in garden green from pansy Dies. When making stems you can add Adhesive sheet to the back of the Garden Green for easy placement of stems on the card.
- Scrap of Basic White card for sentiment
- Garden Green card for layering
- Versamark
- Gold embossing powder
- Gold ribbon for bow
- Blending pens – Poppy Parade and Daffodil Delight
- Wink of Stella
Instructions
- Glue gold strips to long edge of embossed white cardstock.
- Glue this to Card base.
- Colouring the Bells: use the blends for this and add some Wink of Stella to the bells.
- Peel paper off stems (they have doubled sided adhesive on them) and place on cards.
- Add flowers using Dimensionals.
- Add ribbon bow.
- Stamp the sentiment in Versamark and emboss with Gold Embossing powder and heat set.
- Cut around sentiment freehand and add Garden Green to back and cut around it as well so it shows around the edge of the sentiment and add with dimensionals to the card.
- Add insert to inside of card.
Product Listing
Remember to use the November Host Code EYFUHQ2T on your order to receive a discount.


 SHIMMER RIBBON")
 METALLIC SPECIALTY PAPER")


